Uniguest Blog


EPIC Leadership Series: Mike Rethage
At Uniguest, our team is comprised of dedicated individuals who bring passion and expertise to every aspect of our business. Among these remarkable individuals is Mike Rethage, Chief Operating Officer for Uniguest. His journey with Uniguest started over a decade ago...

Enhancing Nurse Satisfaction and Care with Patient Facing Technology in the Hospital Room
In the dynamic landscape of healthcare, the pursuit of nurse retention has become a paramount challenge. Monetary and scheduling incentives, once relied upon, are proving insufficient in meeting the staffing needs of healthcare facilities nationwide. As administrators...
Uniguest’s Quarterly Round-Up: Exciting Developments and Global Engagements
As we enter a new quarter, Uniguest is excited to share an update on our recent activities. We have been busy with exciting projects, such as launching our Unify Partner Program and highlighting our latest features at ISE 2024 in Barcelona. Here is a summary of what...
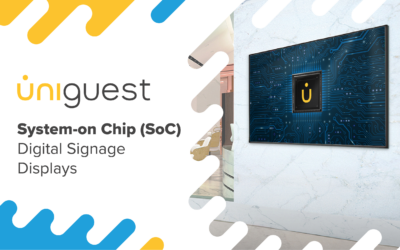
System-on-chip (SoC) Digital Signage and Hospitality Displays
In the evolving world of digital signage, organizations are constantly looking to streamline operations, enhance their audience’s experience, and of course, lower costs. One important technology that has grown significantly is the integration of system-on-chip (SoC)...
Coffee Break Webinar: Tripleplay 24.1 Platform Updates
Explore the latest enhancements in Tripleplay 24.1 through our engaging sports and entertainment webinar. Unlock exclusive access to the recording by simply filling out the form below.

Media Management with eStream: The Unified Video Platform
In today's digital world, it's essential to have a centralized platform to manage and deliver all your media needs. eStream is a video content management platform that provides a variety of tools to create, edit, and manage video content. Its interactive features,...
Uniguest Partners Receive Awards of Distinction
Uniguest’s Unify Partner Program was launched during ISE 2024 at an intimate partner briefing, announcing its global top-tier Platinum partners in Distribution, System Integration, and Hospitality System Integration. Uniguest Unify Partners have been recognized for...
The Uniguest ISE 2024 Recap is Here
Uniguest returned to Barcelona, Spain for the world's largest AV and systems integration exhibition. With a live DJ to welcome a record number of attendees, ISE 2024 was a genuine spectacle, and the Uniguest stand was no small matter. For four days the Uniguest team...
Unlocking Heart Health: A Focus on American Heart Health Month
As we enter February, we kick off American Heart Health Month, a dedicated time to raise awareness about cardiovascular health and encourage heart-healthy habits. At Uniguest, we understand the significance of this initiative and are proud to be at the forefront with...

Uniguest: Leaping into 2024
As we enter the new year, Uniguest is proud to reflect on a fantastic 2023. Standing among the industry leaders as acknowledged by Invidis, we continue to strive for success and deliver a suite of solutions that enhance the customer experience across various...
Uniguest’s Journey Through Senior Living Events in 2023
The senior living team at Uniguest undertook an exhilarating journey throughout 2023, attending a series of events that shed light on new trends in resident engagement and community connectivity. Digital Healthcare Infrastructure Showcase 2023 Kicking off a moving...

2023 in Review – Across The Universe
Opening Act When we started writing this piece The Beatles had just released their last ever song, Now & Then, a retrospective track and one our team loved so much, it inspired us. So, apologies for the puns and shoe-horned song titles and get ready for an...